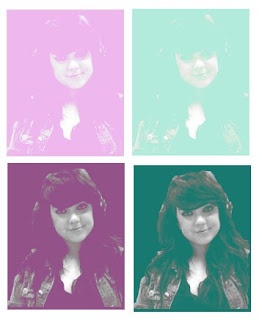
I decided to try out a different style of the work by Warhol, as i felt this would add more variety to my work. To create this effect, I originally took an image on photobooth and dragged it into photoshop elements. i first used the magnetic lasso tool, to select my chosen area within the image. I then went to the toolbar at the top and selected image - mode - grayscale. I later selected the layer adjustment tool and went down to brightness and contrast. I changed the brightness of my image to +25 & changed the contrast too +55. Next, i went to image - mode - RGB and duplicated the image. Using the duplicated image, i changed it to soft light to try and make my image more visually pleasing. i created a new layer on top of the layer which i had duplicated and i then filled it with colour. using the same settings as previous i selected the colour layer and selected lighten. i repeated this style of Warhol image to create this overall effect, i believe it has worked well and showed the style which i wanted to portray.
